Database Loading Layouts
When loading images from the database an interface similar to the one below is shown. This example represents the vertical layout with a filter area at the top and three list areas. The first lists the subjects corresponding to the filter settings. The second lists the image series of the selected subject. The third lists the image series which will be loaded when the Open button is activated.
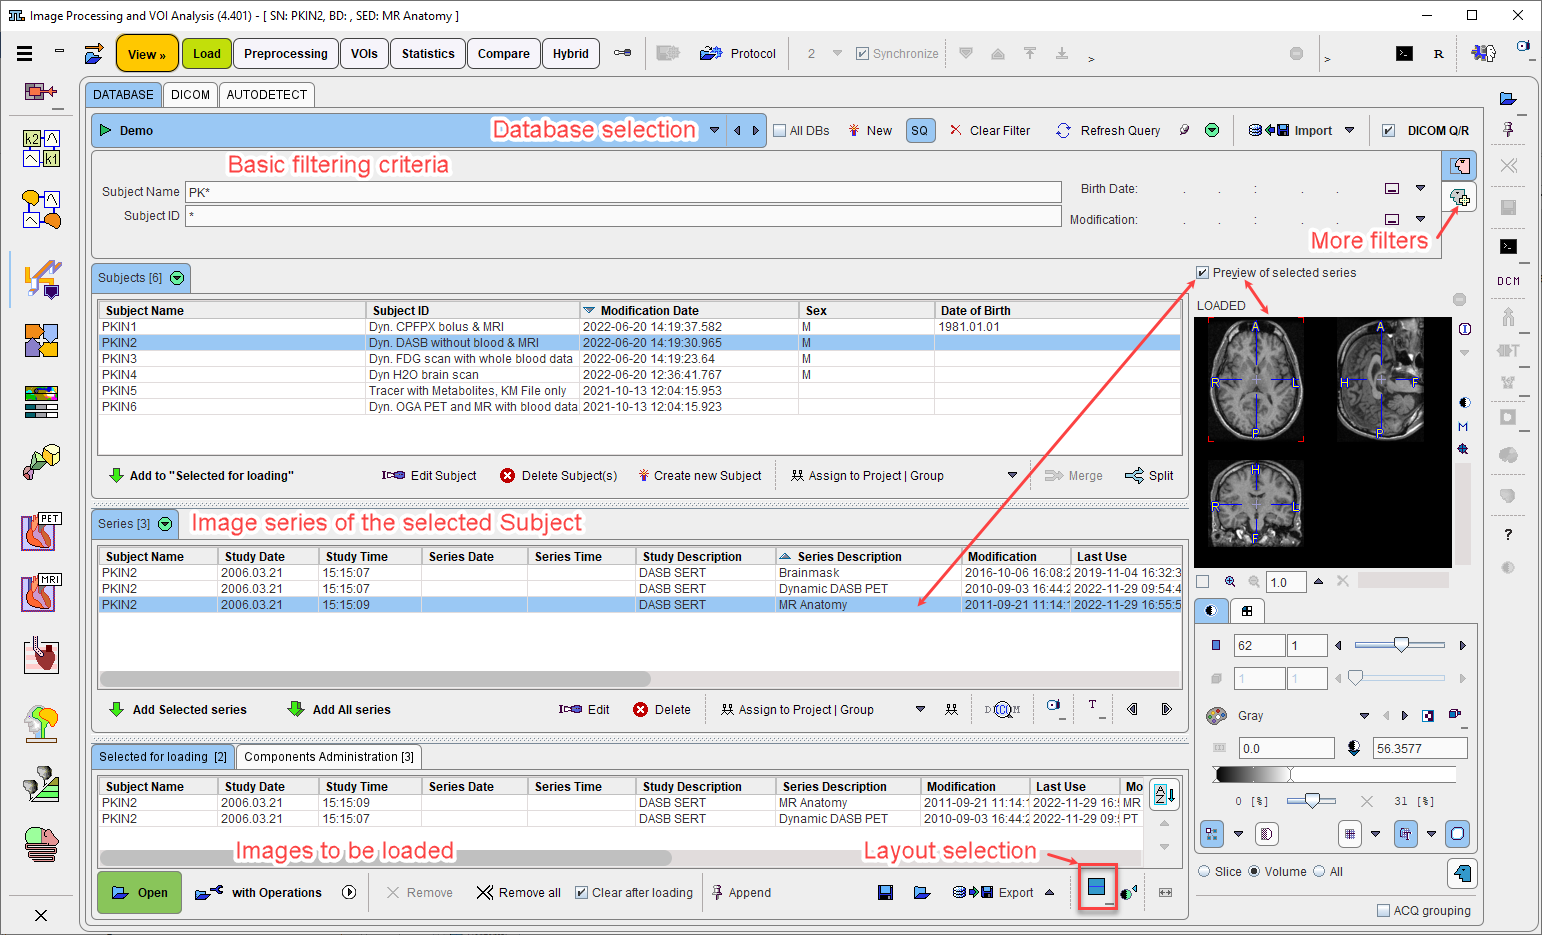
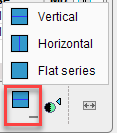
The vertical layout may not be convenient for small screen heights. In this case the layout can be switched
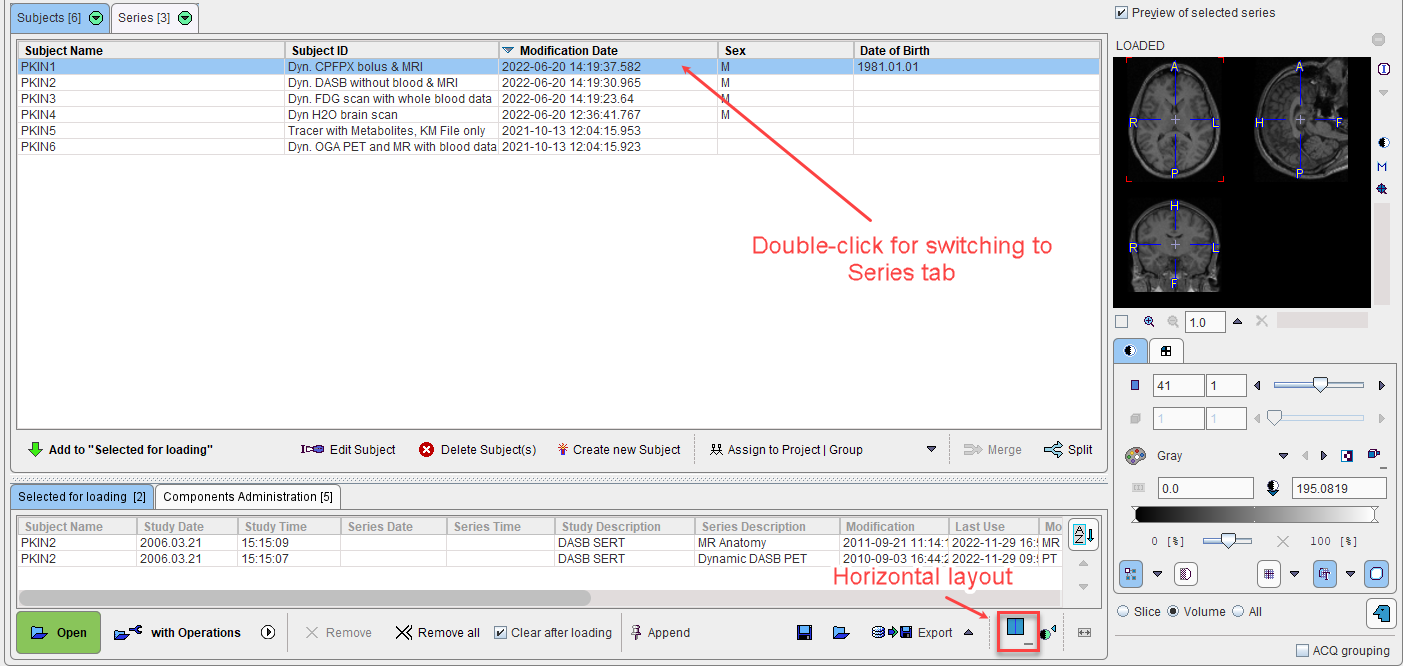
The Horizontal layout stacks the Subjects and Series list, to allow for more list entries. The series of the selected subject can be shown by selecting the Series tab, or by double-clicking the entry in the Subjects list.
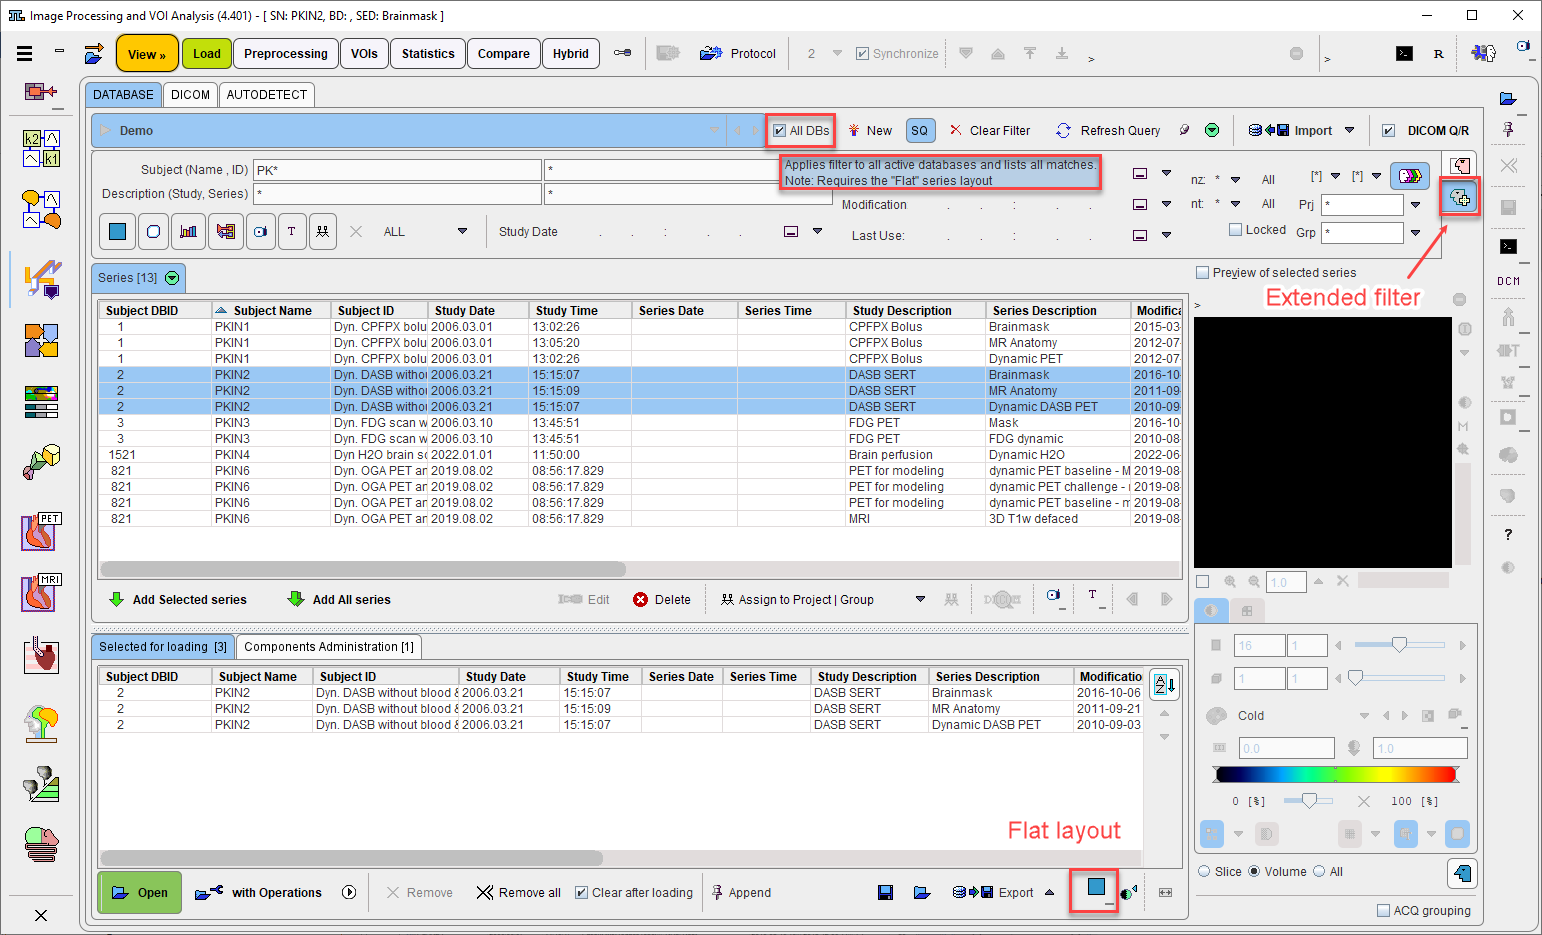
The Flat series layout is another arrangement which lists all image series in a single list. It allows listing series from all active databases if the Search All checkbox is enabled, as illustrated below. Also illustrated is the extended filtering in the upper area.
An interface reduction ![]() button is located in different places to allow hiding/showing the patient list controls. When it is activated it becomes a
button is located in different places to allow hiding/showing the patient list controls. When it is activated it becomes a ![]() button and some of the user interface elements are hidden to allow for more list place. To show all elements, the
button and some of the user interface elements are hidden to allow for more list place. To show all elements, the ![]() button needs to be activated.
button needs to be activated.
Loading Overview
One or several image series can be selected and brought into the Selected for loading area by the Add button or by a double-click at the series entry. On the right side there is a preview window to verify the image contents before actually loading the whole data set. If the Preview of selected series box is checked, an image is displayed as soon as a series is selected.
Finally, by activating the Open button, all series in the Selected for loading area are loaded into the PMOD tool. The Append pushpin button in the lateral task bar is important for the outcome of the loading operation: with the appending setting ![]() the images are added, while with the overwriting setting
the images are added, while with the overwriting setting ![]() any already loaded images will be discarded.
any already loaded images will be discarded.
Note that the availability of multi-series selection depends on the context. If only a single series is expected by the program, double-clicking at the series will immediately start image loading.
Other Loading-related Options
In the lower right corner there is a collection of loading-related functionality.
![]()
All DBs |
When enabled, allows applying filters to all the active databases and lists all matched. Note that requires the Flat series layout. |
New |
Opens the global configuration tool for creating a new database |
SQ |
Means Save Query. If this button is enabled, the same filter settings will be applied when the database window is opened again. |
|
This button resets the filter settings by removing all specifications. |
|
The refresh button to apply the query to the database potentially updated in the meantime, or after changing the filter and disabled automatic refreshing. |
|
Toggle button to enable/disable automatic refreshing after changing a filter element. |
|
Hide/Show panel with filter settings. |
Import |
The Import functionality is a convenient way for directly importing many image series at once into the currently selected database.
The DICOM option imports the original data, unless any information is changed in the intermediate dialog window. In contrast, DICOM conversion loads the images first and stores them in PMOD's own DICOM objects. When using the AUTODETECT import, dummy demographic information is generated if it is not available in the image headers. |
DICOM Q/R |
Starts the DICOM Query/Retrieve functionality in a dialog window. If the box left to DICOM Q/R is checked, the demographic subject information is copied to the Q/R dialog window. This convenience helps for retrieving images of the selected subject from a PACS. |
DICOM (Page) |
Serves for DICOM Part 10 image loading from outside the database. |
AUTODETECT (Page) |
Serves for File-based image loading from outside the database using the AUTODETECT format. Tuser can just browse to any directory and select any type of image file. PMOD will detect its file format and load the image, if possible. |
User Interface Elements for Filtering
Basic Filtering

First of all the database to be searched must be selected with the selection in uppermost section, Demo in the example above. The basic filtering options include the following elements.
Subject Name |
Subject name, starting with the last name. The wildcard * can be used as a replacement for arbitrary sub-strings. |
Subject ID |
The subject ID filter, also supporting wildcards. |
Birth Date |
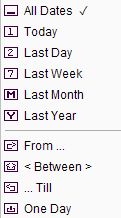
The filters for the birth date include an exact date, or a date range available from the selection list. |
Modification |
A date/time is maintained in the database recording when the data of the subjects was modified the last time by adding an image series or by changing the subject information. For example, setting the field to Last Week only shows subjects modified in the last seven days. |
Extended Filtering
There is an extended filtering capability available on the second sub-tab which is illustrated below.
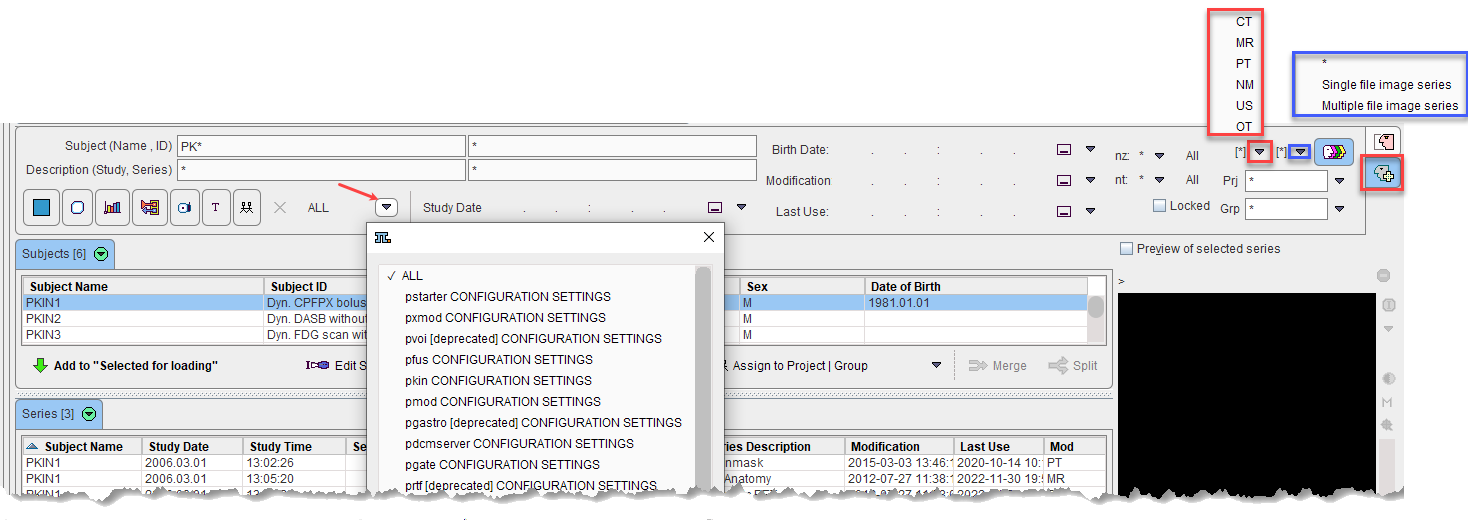
It contains several new elements:
Study |
Filtering of text appearing in the study description. The * wildcard is supported. |
Series |
Filtering of text appearing in the series description. The * wildcard is supported. |
ALL |
This selection lists all available data types in PMOD such as images, VOIs, etc. Setting this field to VOI Templates for example will only list patients who have a VOI definition attached to one of the image series.
|
Last Use |
A date/time is maintained in the database when data of the subjects was accessed the last time. This information is listed for each database object. Selecting a date range allows browsing the database content based on a least recently used criterion. |
nz |
Filter to search for studies with a certain number of slices, including the criteria |
nt |
Filter to search for studies with a certain number of dynamic frames. For instance nv > 1 will only list dynamic series. |
Locked |
If the box is checked, only subjects who have a Locked flag are listed. |
Modality |
A selection to restrict the search to a specific modality, e.g. to PT (PET) as in the example. Multiple modalities can be searched for at once. |
Prj |
Subjects can be assigned to a Project. The selection allows choosing from the list of available project names. |
Grp |
Similarly, subjects can be assigned a Group. The selection allows choosing from the list of available groups names. |
|
Every time data is saved in the database, the PMOD name of the user who saved is recorded together with the data. This button allows restricting the search to the PMOD user currently logged in (button out), or to show data of all users (button in). |
Subject Level Operations
The ![]() /
/![]() allows hiding/showing the Subject list controls
allows hiding/showing the Subject list controls
With ![]() , when a subject has been selected from the list, the Subjects list controls becomes active.
, when a subject has been selected from the list, the Subjects list controls becomes active.

Add to |
Enters all series of the subject to the Selected for loading area. |
Edit |
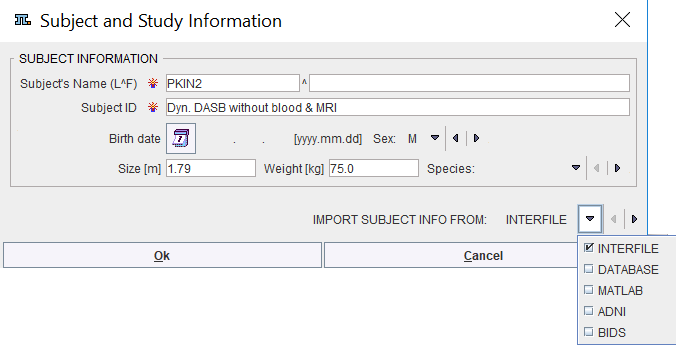
Opens a dialog window for editing the subject demographic data. |
Delete |
Delete the subjects selected from the list and shows an option dialog which data is to be removed. |
Create new |
Create a new subject in the database, to whom information can be attached if there is no image series in the database. |
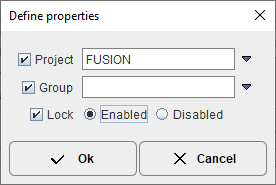
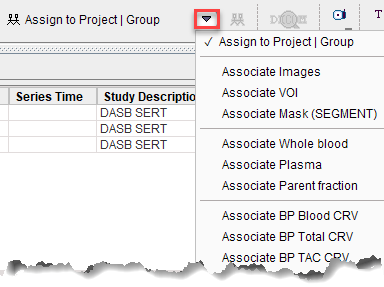
Assign to Project | Group | Lock |
Allows defining three attributes for a subject: |
|
Sometimes several entries are created for a single subject because of a mismatch in the name/ID information. To merge such entries, select all of them in the Subjects list (with CTRL+Click) and activate the Merge button. As a result all series end up under a single subject entry. |
|
Allows separating series listed for a single subject into different subjects. To do so, select the series, activate the Split button, and Edit the generate subject names. |
Series Level Operations
The ![]() /
/![]() allows hiding/showing the Series list controls.
allows hiding/showing the Series list controls.
With ![]() , when a series has been selected from the list, the Series list controls becomes active.
, when a series has been selected from the list, the Series list controls becomes active.

Add Selected series |
Enters the selected series of the subject into the Selected for loading area. |
Add All series |
Enters all series of the subject into the Selected for loading area. |
Edit |
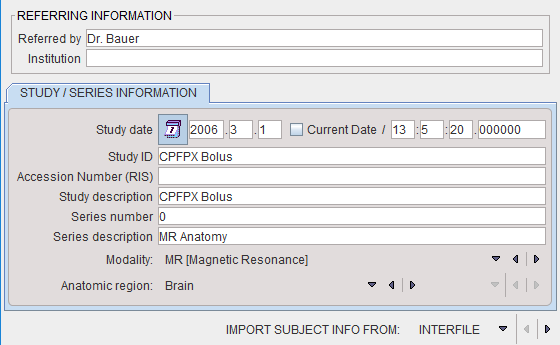
Opens a dialog window for editing the series information
|
Assign to Project | Group | Lock |
This option button supports several functions
Assign to Project | Group brings up the same dialog window as on the subject level to define project, diagnosis and locking on the series level. The other entries allow establishing a relation between the selected image series and a component such as a VOI or blood curves, see Data Association. |
Delete |
Delete the series selected in the list. |
DICOM |
Inspect the attributes of the selected image series in a dialog window. |
|
Search JPEG or TIFF captures stored in the database. They can be opened in a viewer. |
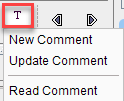
T |
Option menu for comments.
New comment opens a text editor. The created comment is added to the selected image series. Update comment and Read comment allow searching the database for comments and editing/reading tem. |
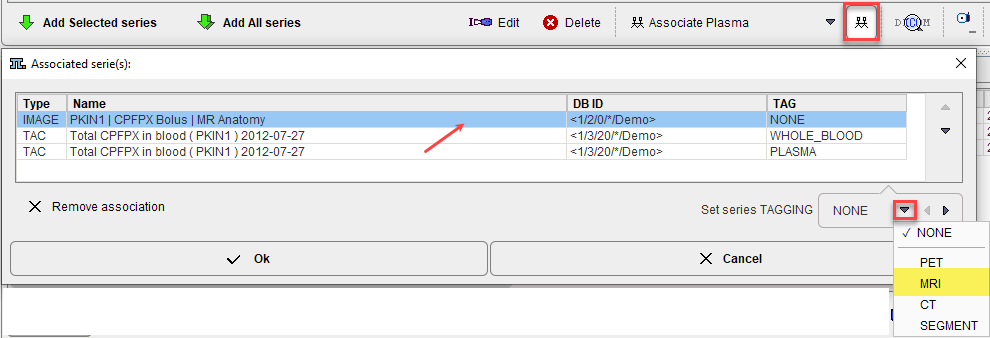
|
Show the components which are associated to the selected image series. In the example below an MR and two blood TACs were associated to the dynamic PET series.
|
|
Buttons allowing for stepping the subjects through the Subjects list. |
Selected for Loading Area
In most situations more than one series (from the same or different subjects) can be added to the loading area, but there are exceptions when only a single series is allowed. The order in the list is relevant for the loading order. This is most important for the fusion tool because the first series will serve as the reference. To change the sorting order just click one of the column headers.
As soon as there are series in this area, the row of buttons below the list becomes active.

Open |
Starts loading the image series directly. If the Append flag is on ( |
with Operations |
Starts loading the image series and opens a dialog window for specifying pre-processing options as described in Image Data Transformations during Loading. If the Append flag is on ( |
|
This button serves for loading the selected data with a macro. |
Remove |
Removes the selected series from the selected for loading area, but does not delete from the database. |
Remove All |
Clears the Selected for loading area. |
Clear after loading |
If the option box is checked, the Selected for loading area is empty when loading the next time. Otherwise, it will show the same entries, which may be helpful when working with the same data repeatedly. |
|
Allows saving the list of the images available in the selected for loading area. |
|
Allows appending a saved list of the selected series. |
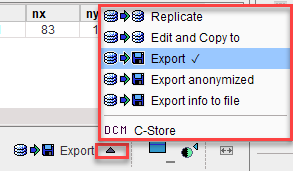
Replicate |
Copy the selected series including components to another database which can be selected in the appearing dialog window. |
Edit and Copy to |
This element shows the current entry of the option menu for exporting the selected series.
|
Export / Export anonymized /Export info to file |
See Image Data Export. |
DCM C-Store |
This button allows sending the selected series directly to a DICOM server without first loading them into an image area. This has the advantage that no modifications are done to the original DICOM objects. In contrast, when loading the images and sending them to a DICOM server, some changes are applied to the DICOM attributes. |
Database layout options |
|
|
Buttons for showing/hiding a preview of the selected series. |
|
This button enables sorting the images in Selected for loading by clicking into the selected column header. |
|
These buttons shift the series location in the list. |
|
This button establishes default column order and width. |
The ACQ Grouping option, available under the image preview panel, is applicable for CT series which contain images acquired with different parameters. When opened, such data will be split into different image series.

