The active contour segmentation requires an initial definition of the mycocardial center line as well as the center of the long axis. From there on it tries to find the endo- and epicardial boundaries by an iterative process. The segmentation procedure requires the following steps:
Definition of LV center and Septal Angle:
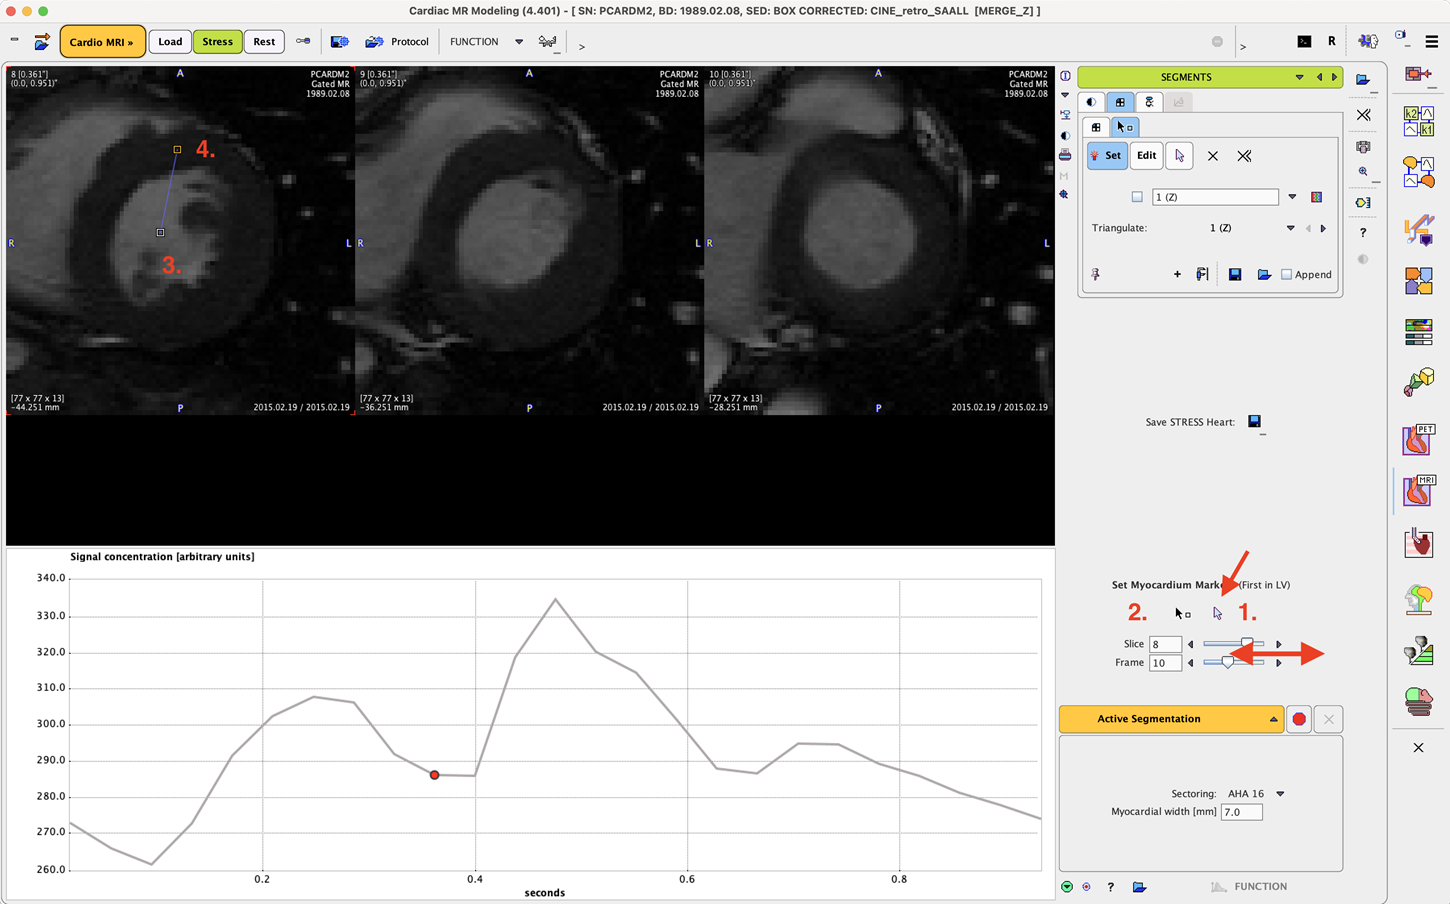
1.Make sure that the Neutral mode is on by selecting the arrow button. Next use the slice and frames slider to locate the diastolic phase and the most basal slice which shows a closed myocardial ring.
2.Activate the Marker setting button and click into the center of the LV, crating the center marker. Next, click into the center of the myocardial muscle at the location, where the RV ends as illustrated below.
Definition of Myocardial Center Line from Base to Apex
For the active contour method it is necessary to define the approximate center line in slices covering the axial extent. It is sufficient to perform the outlining in every second or third slice.
1.Continue to click along the center line until a point close to the initial point is met.
2.Use the Slice slider to shift the slices and repeat the marker placement, starting again from the center.
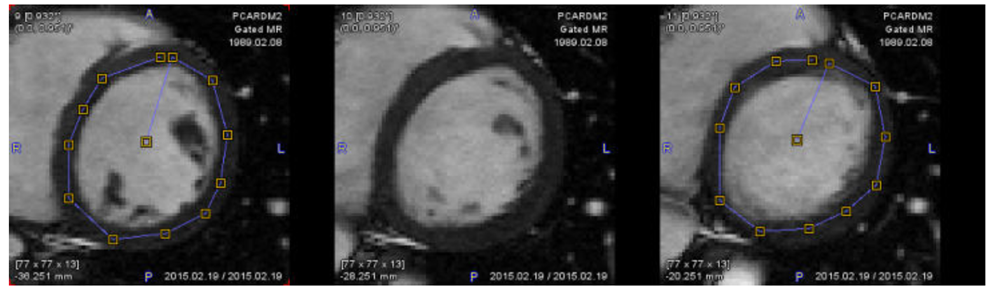
3.Continue the same process until reaching the apex.

Preprocessing is finished when the whole axial extent is covered.
Active Contour Segmentation
Please make sure that an adequate Myocardial width[mm] has been specified, then start the outlining process with the Active Segmentation button. Processing will start with processing the current frame and continue along the frames, always using the result of the previous frame as the starting condition. Note that the marker definition is automatically saved, so that it can be restored later on as need.