Step-wise processing is started by selecting the second tab. It is labeled Segment+AI when starting PSEG, and retains the labeling of the previous segmentation. The first sub-panel is called INPUT.
INPUT Image Loading
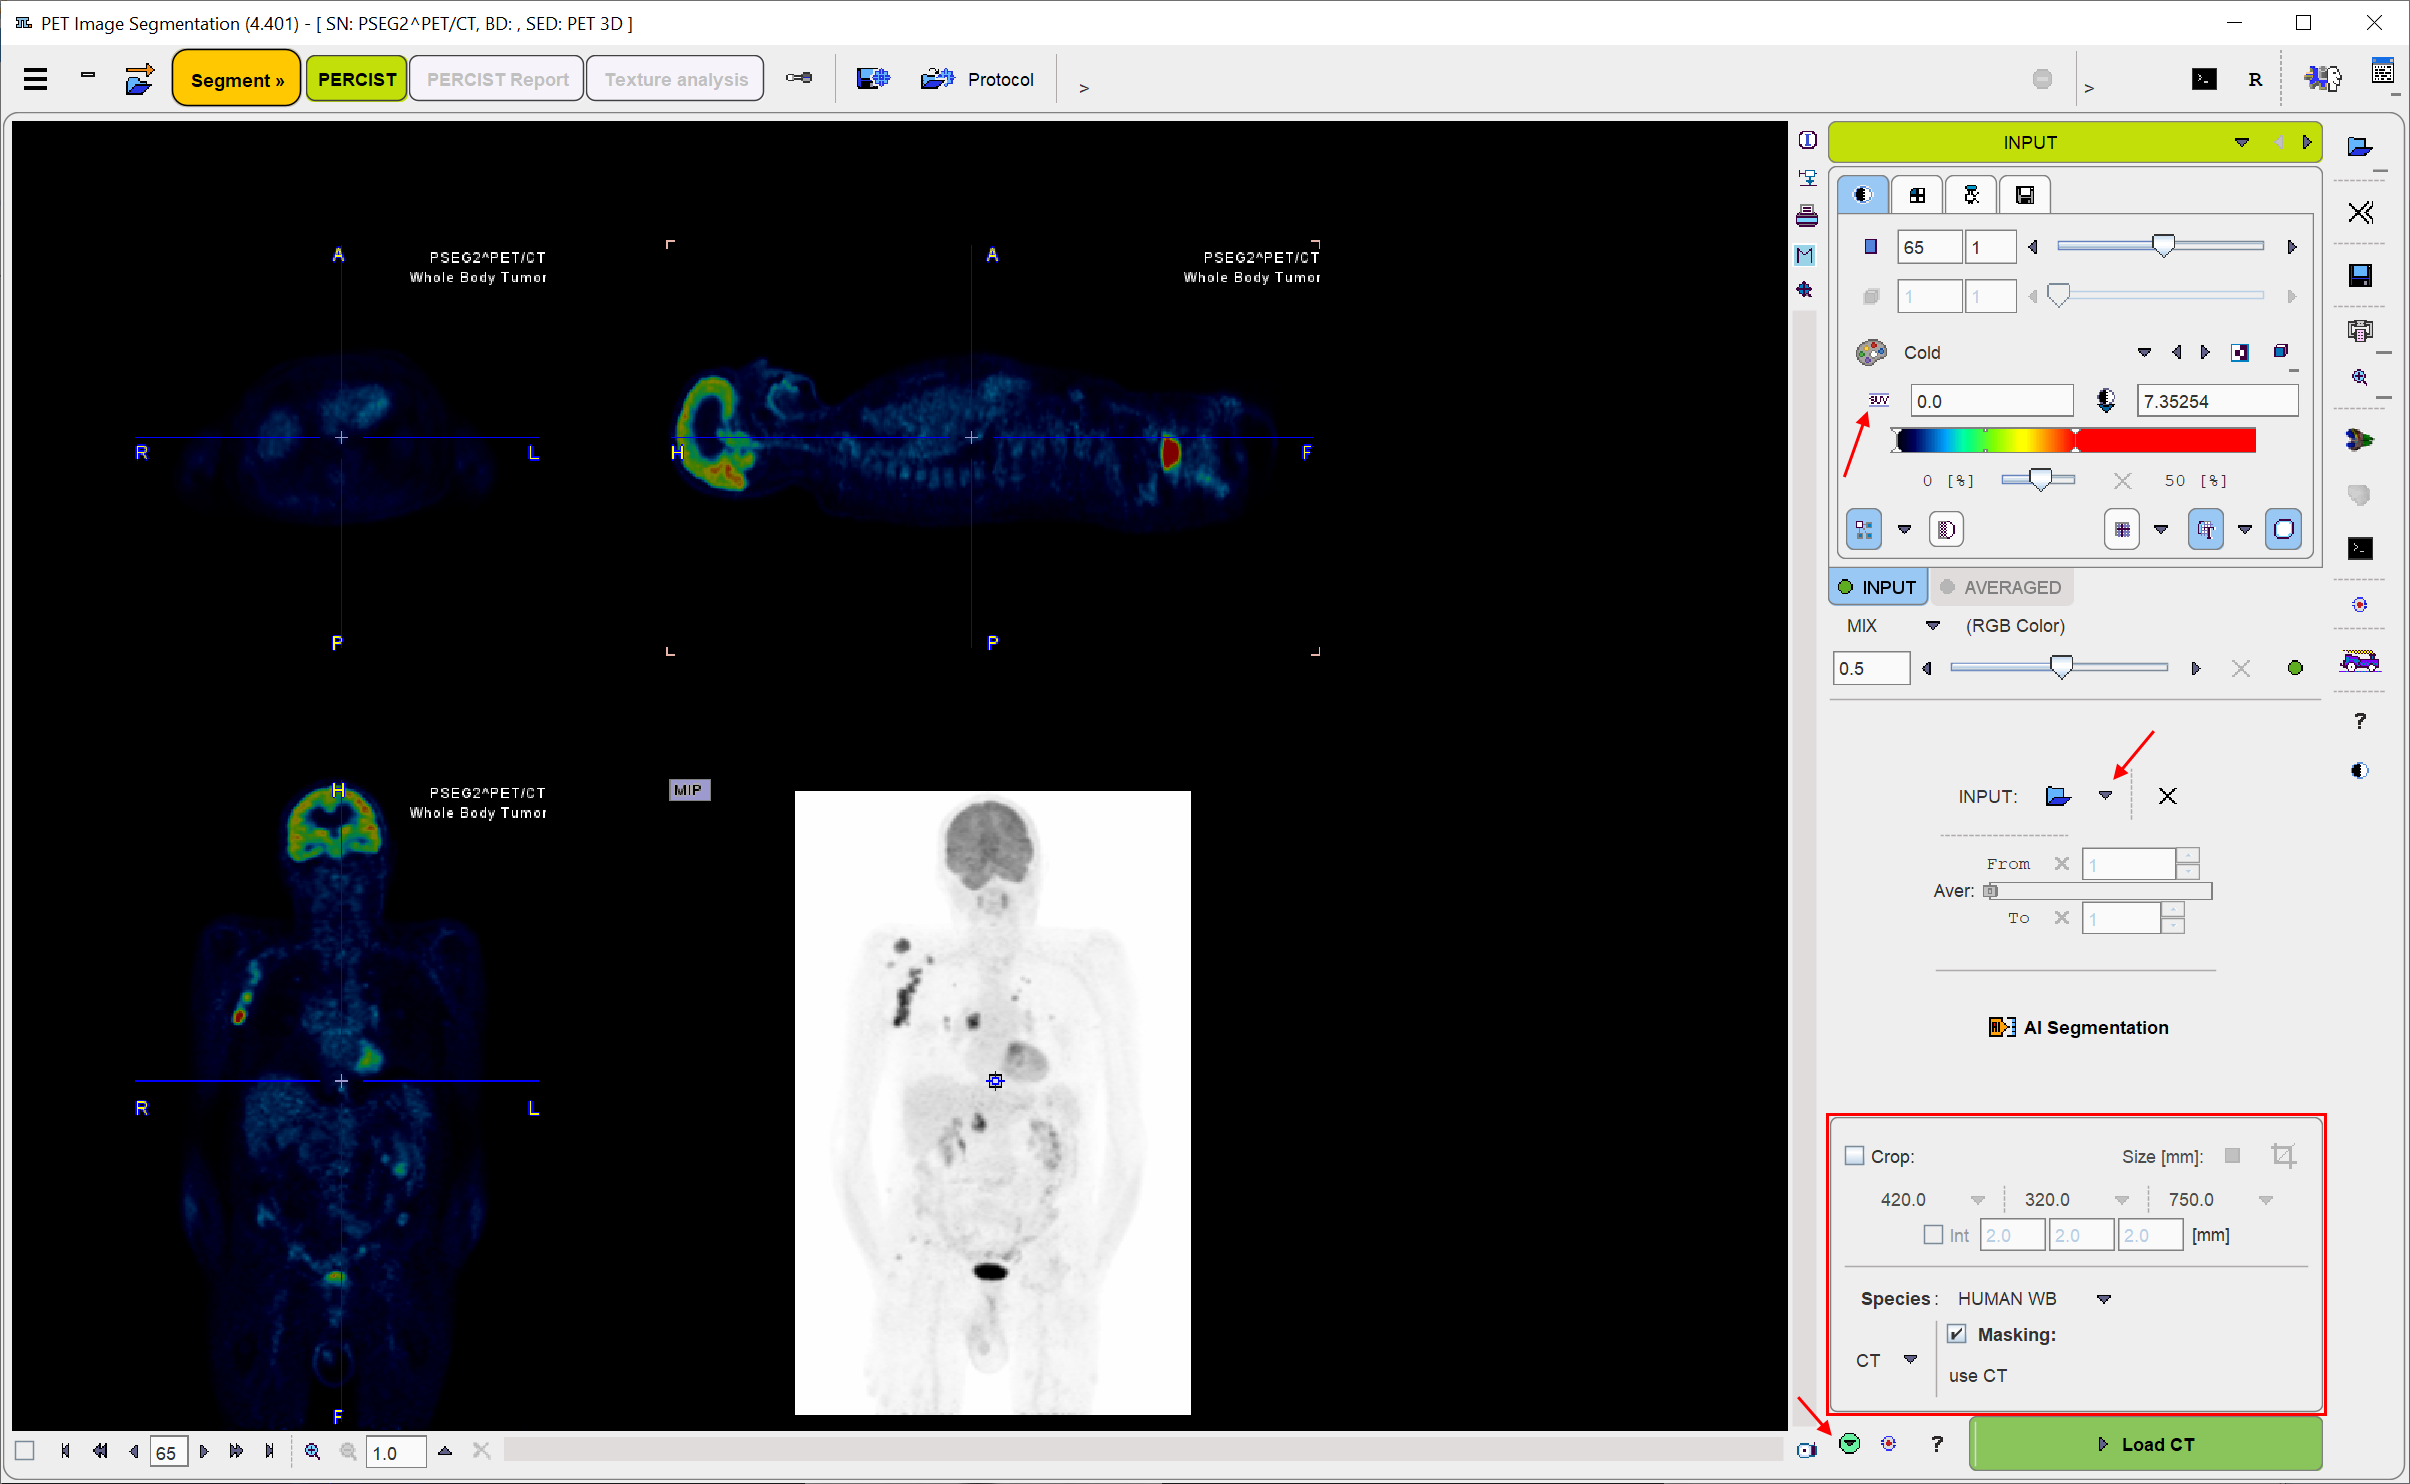
The Load INPUT button for loading the PET images is located in the right control area. It behaves as an option button which needs to be set to the appropriate data format with the indicated arrow. For loading images which are not saved in a PMOD database it is recommended to apply the Autodetect format which will figure out the appropriate image loader.
The image is displayed according to the configuration settings. In the example above the global Oncology setting is active, so that the PET image is shown in SUV units and the MIP image is shown in inverted grey.
If the loaded PET series is dynamic, PSEG generates a new series by averaging a range of frames and assigns it to the AVERAGED tab. The averaging range can be defined by the From and To number fields, or dragging the range indicators in the Aver bar. After any modification of the range, the average is recalculated and the display updated. The aim of the averaging is to generate an image which is useful as a reference for the segment interpretation, as well as for creating the body mask. The original and the averaged images are shown in a fusion rendering which can be adjusted in the fusion control area below the tabs for selecting the individual images.
INPUT Image Cropping
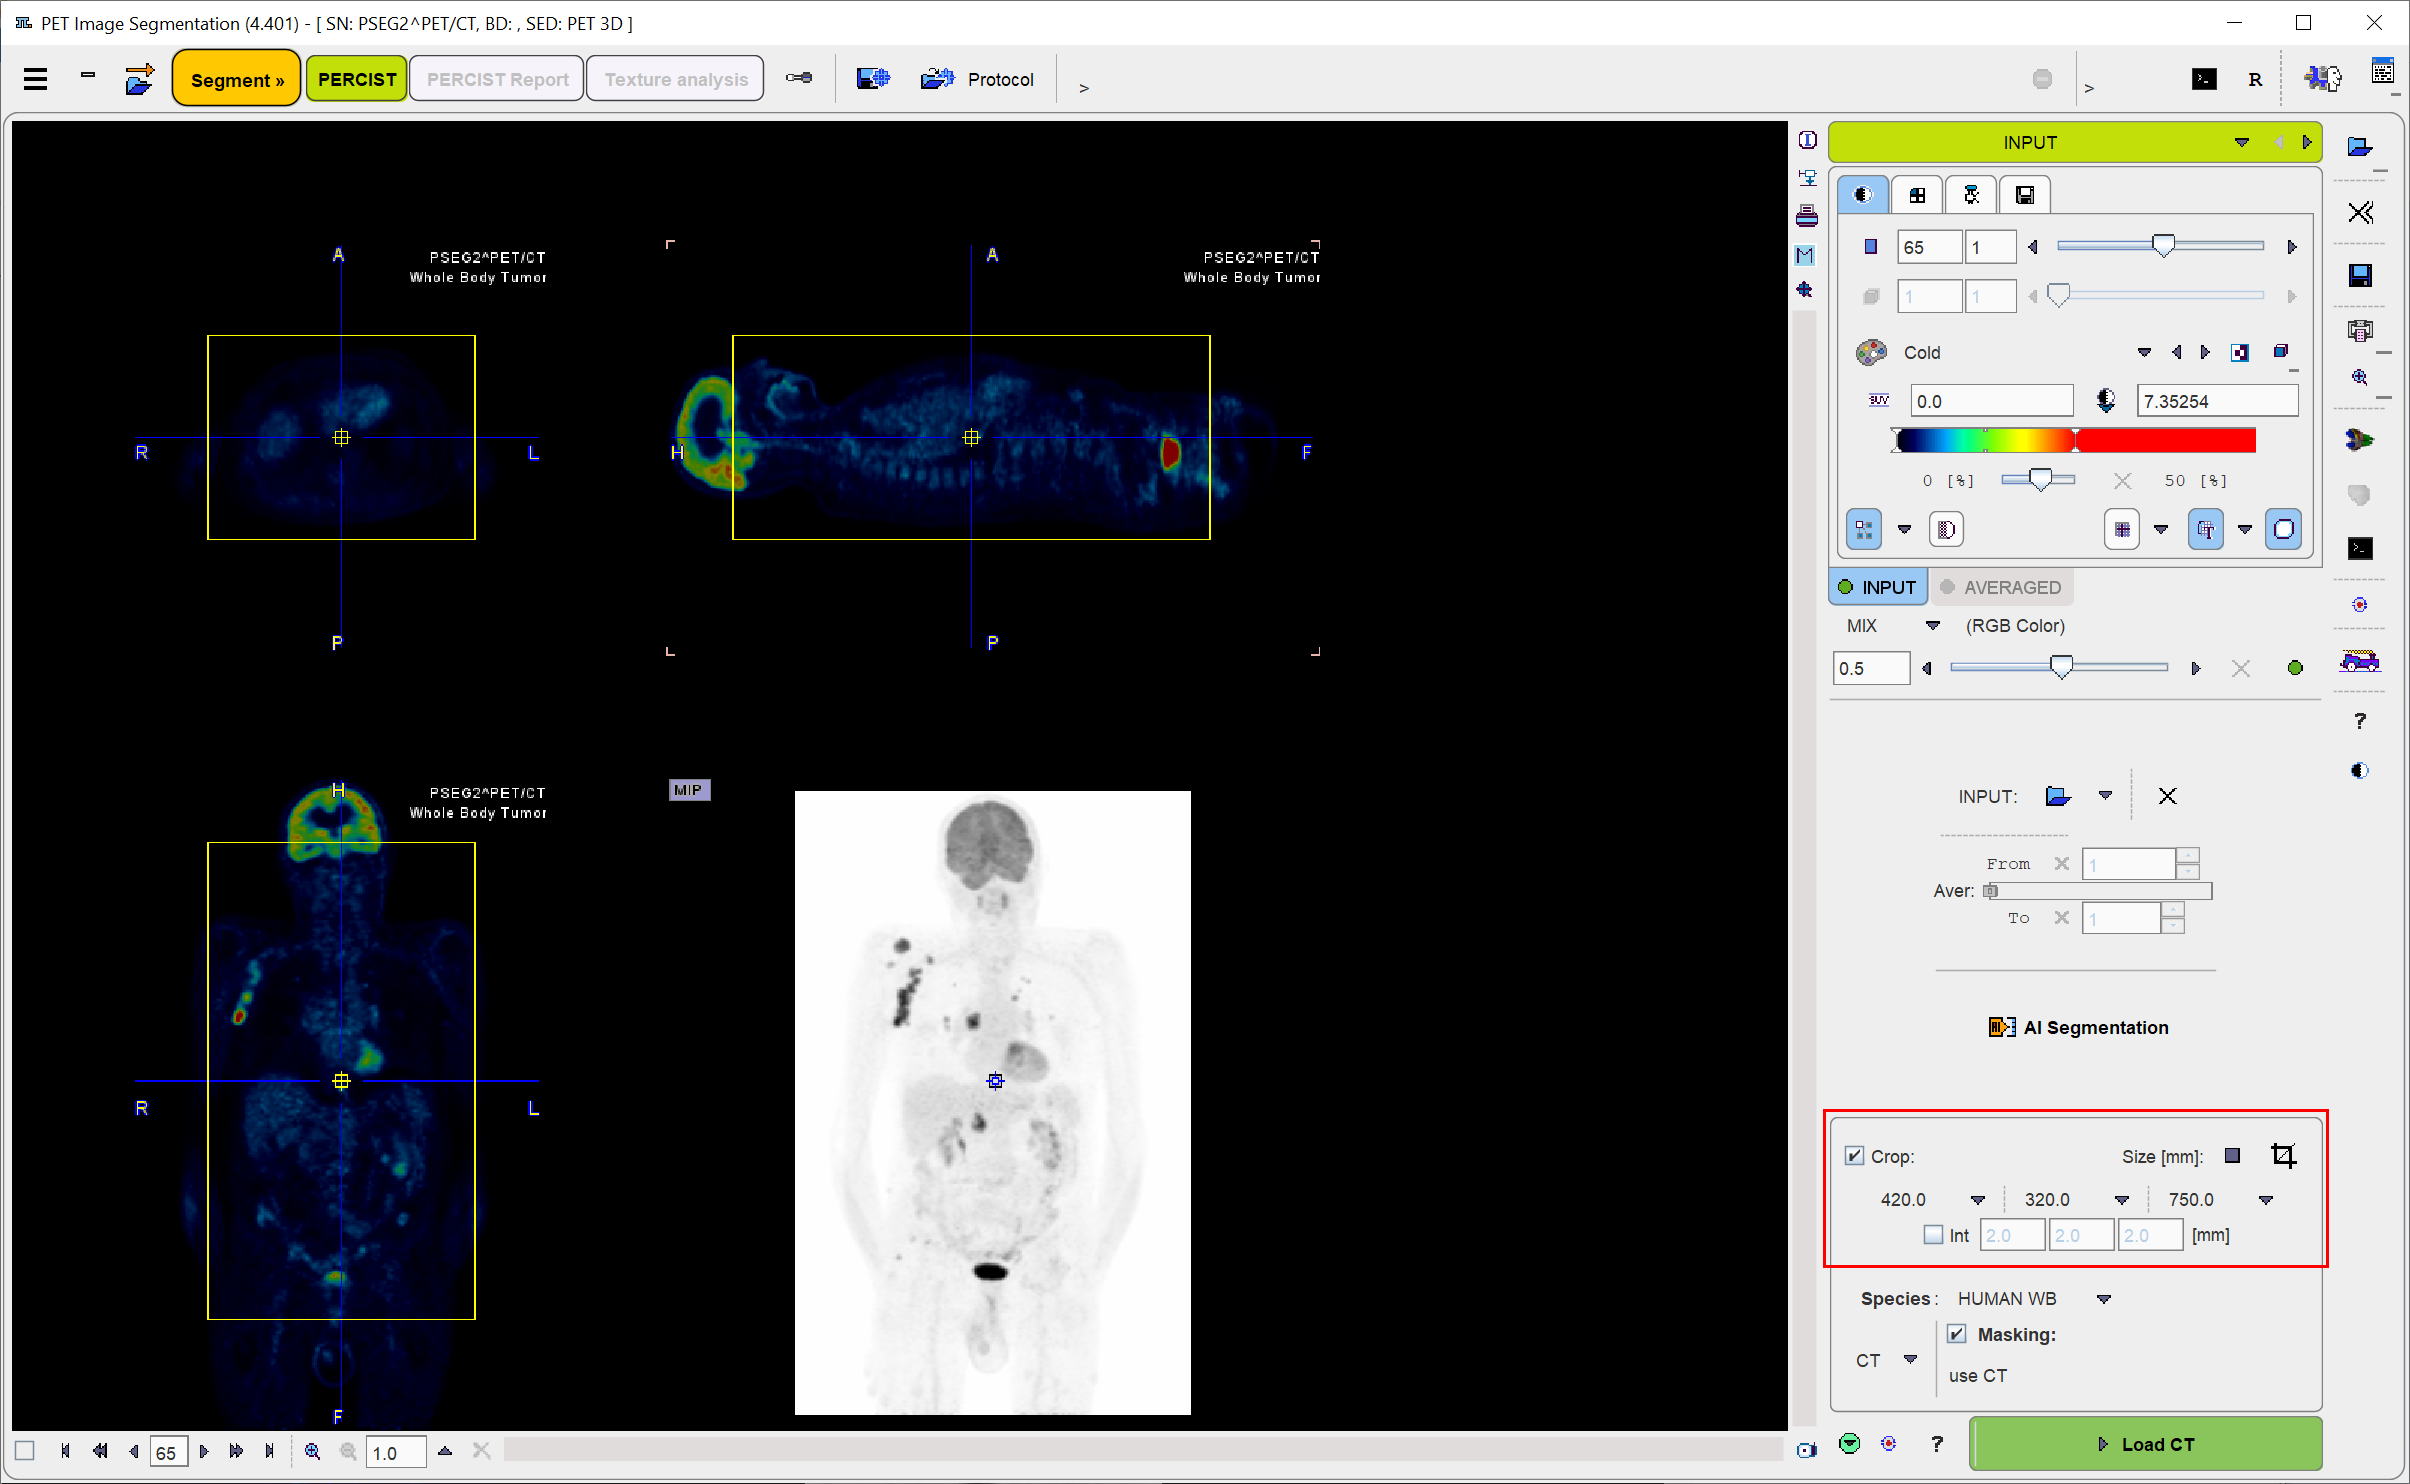
If some cases, restriction to a sub-volume may be preferable to save RAM and optimize processing. To do so, please enable the Crop box and place the center of the yellow crop volume by clicking into the image. The edge size in [mm] of the box can be adjusted for each direction by selecting the size in the corresponding list, or by selecting the Size button and entering the three edge lengths. The ![]() button initiates cropping, whereby the original data are replaced. If cropping is not activated manually, a request will be shown when proceeding to the next step. Note: The cropping operation is irreversible and only allowed once.
button initiates cropping, whereby the original data are replaced. If cropping is not activated manually, a request will be shown when proceeding to the next step. Note: The cropping operation is irreversible and only allowed once.
Interpolation
The analysis will be performed at the resolution of the PET image. If matched anatomical images are available, they may have better spatial resolution than the PET. In this case, or just to have a smoother appearance, an interpolation can be configured. To this end, activate the Interpolate box and specify the voxel dimensions in x,y and z in mm.
Mask Definition
The mask definition is optional. With the Masking box enabled the segmentation procedure will operate on all pixels contained in a mask derived from the data. Please set the Species selection according to the studied subject. It establishes proper defaults for the morphological operations which are later applied to the data. The Masking method selection allows switching between three methods of mask derivation: INP, CT and MR.
No Masking
When the Masking box is OFF
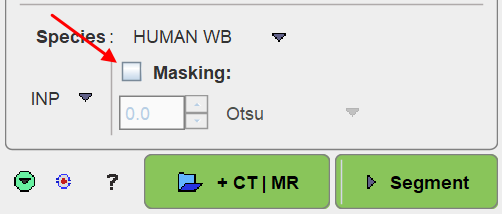
no segmentation mask is derived for the workflow and the segmentation procedure will be applied to the whole image data. If there are no matched MR or CT images, proceed with the Segmentation action button, otherwise proceed to the additional image loading with the +CT | MR button.
INP-Based Mask
When selecting INP masking
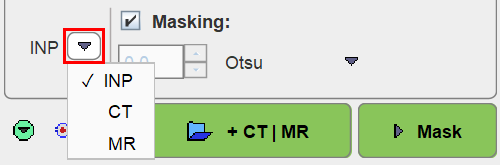
the segmentation mask is derived from the averaged INPUT series when the INP is a dynamic PET image. Several methods can be selected from the drop-down menu.
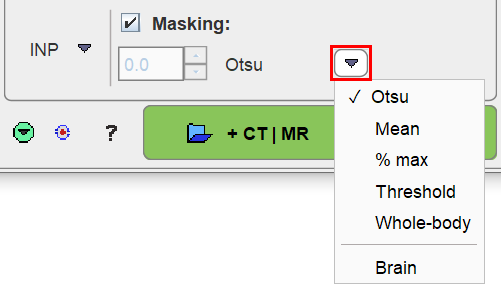
▪Otsu: This method iteratively looks for the best threshold to separate an object from a background assuming two main gray-level regions.
▪Mean: Includes all pixels above the image mean.
▪% max: Includes all pixels above the specified percentage of the image maximum.
▪Threshold: Includes all pixels above the specified absolute value. Note that the threshold needs to be specified in the display units of the PET image.
▪Whole-body: This procedure calculates the image log-values and derives a threshold from the histogram.
▪No masking: Do not apply a mask in the segmentation.
▪Brain: This procedure is based on the Brain Extraction settings and is applicable to brain MR images.
Please select a definition appropriate for the INP data at hand. If there are no matched MR or CT images, proceed with the Mask action button, otherwise proceed to the additional image loading with the +CT | MR button.
MR- or CT-Based Mask
If matched CT or MR series are available, they cannot only be used as anatomical reference images in the fusion display, but also for mask creation. In order to apply MR- or CT-based masking please set the Masking method accordingly. The change is reflected in the parameter area as illustrated below.
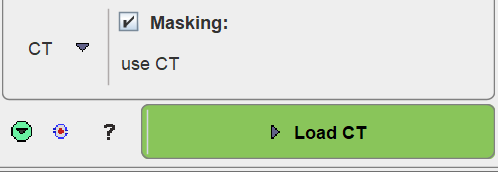
The INP masking options are no longer available, and the action buttons are replaced by a single button for progressing to the corresponding image loading page.