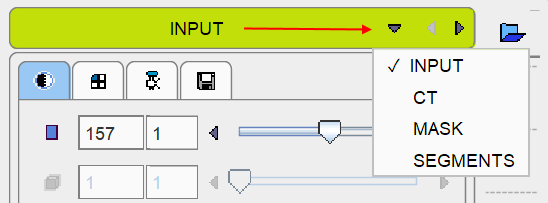
PSEG guides the user step by step through the segmentation of a study. All workflows follow the same sequence of steps:
1.First the INPUT image is loaded, which can be static or dynamic. If it is dynamic, the average of a selected frame range is created. The user can optionally define a cropping window on the loaded images and set image interpolation to a certain resolution. Before proceeding, the user has to specify from what data the segmentation mask is computed.
2.If a matched MR or CT image is available, it is loaded as the next step. The image is automatically cropped to the same bounding box and interpolated to the same resolution as PET.
3.A mask is created for restricting the segmentation procedure. Different methods are available for the different modalities. At this point the user has to configure the segmentation method which will be applied.
4.The segmentation-specific panel is opened. By user interaction, a list of VOIs is created which represent the segmentation result.
5.The INPUT uptake within the resulting VOIs is evaluated, and post-processing such as partial-volume correction or texture analysis applied. The results are shown on a separate page in the main PSEG interface.
Organization of Steps in the PSEG User Interface
The user interface has four pages.

Data can be loaded from the DB load page, if it is organized in a PMOD database. The images are then assigned to the different roles according to their modality.
The second page hosts all segmentation steps. Each of the steps 1-4 described above is represented by a panel within the second page, as illustrated below

The processing results are shown on the third and forth main pages. In the following, the different workflows are described.