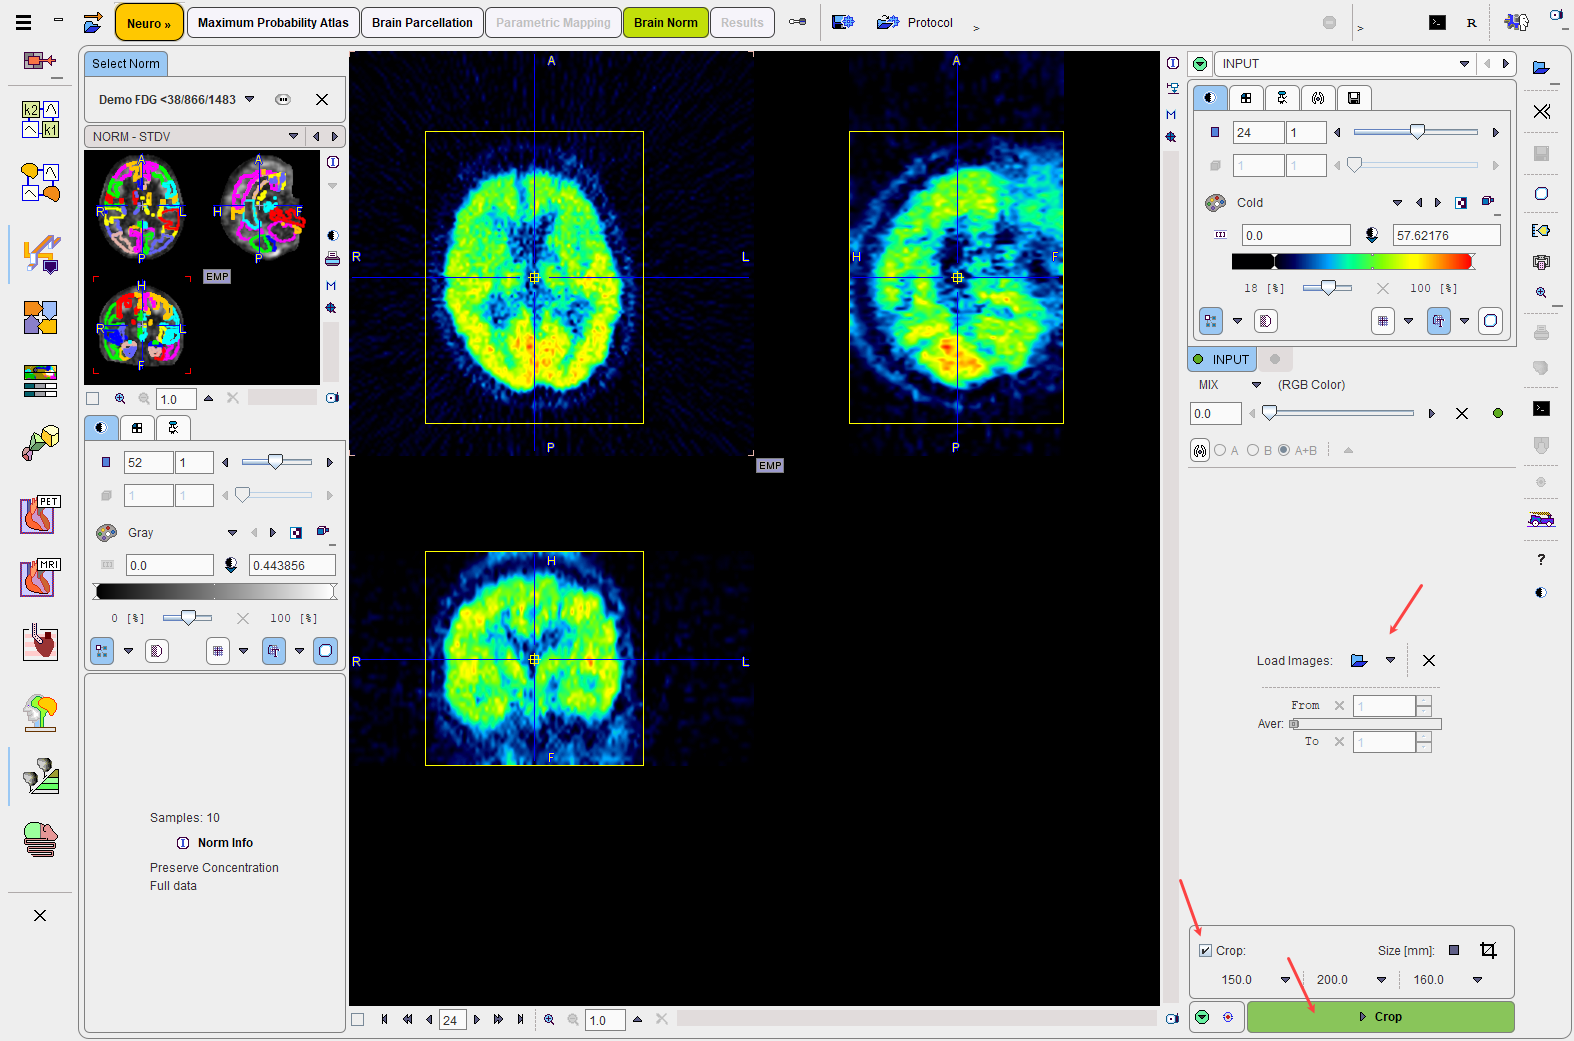
The Load Images button for loading the brain PET images is located in the right control area. It is an option button which needs to be set to the appropriate data format. For loading images which are not saved in a PMOD database it is recommended to use the Autodetect format.
After loading, the images should appear with the same orientation as the template images. If this is not the case, please use the reformatting facilities in the PMOD viewing tool to correct the orientation.
Frame Averaging
In the case of loading a dynamic PET series, a new series is automatically generated by averaging a range of frames and assigning it to the INPUT AVG tab. The averaging range can be defined by the From and To number fields, or by dragging the range indicators in the Aver bar. It should correspond to the range used for creating the Brain Norm. After any modification of the range, the average is recalculated and the display updated. The original and the averaged images are shown in a fusion rendering which can be controlled in the area below the controls of the individual images. To see only the averaged images, move the fusion slider entirely to the right.
PET Image Cropping
If the PET field-of-view is substantially larger than the brain, the data set should be reduced in order to improve the processing reliability. In this case, enable the Crop check and place the yellow crop box so that the brain is fully enclosed. The box center location can be changed by clicking into the image. The edge size in [mm] can be adjusted for each direction by selecting a size in the corresponding list. The Start data cropping of Input Image button initiates cropping, whereby the original data are replaced. If cropping is not initiated manually, a request will be shown when proceeding to the next step.
Note: The cropping operation is only allowed once. When returning to this page it will be deactivated.
To continue activate the Crop action button in the lower right.