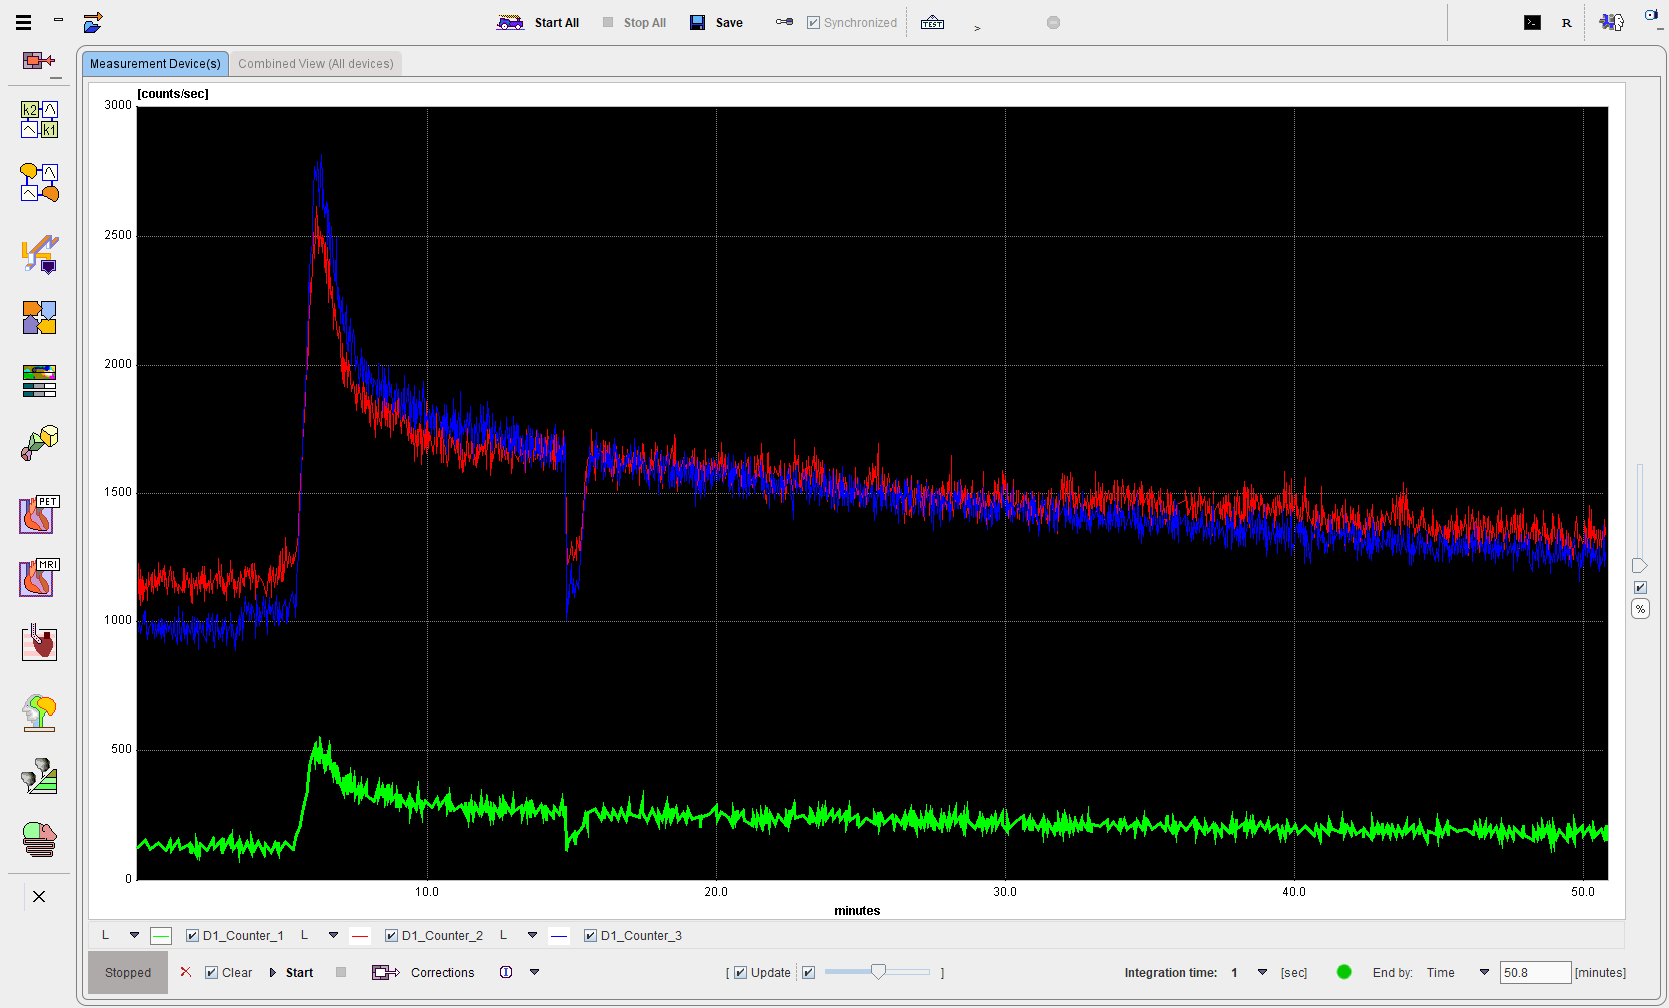
The Measurements Device(s) page consists of a wide display area, with configuration and control elements below. The measurement data are displayed as time count rate curves in counts/sec as a function of acquisition time.
The various elements are described below:
|
Button to access the configuration panel. |
|
Normalization: Scales all curves relatively with a maximum of 1. |
|
Autoscale: If enabled, the program continually adjusts the curve display ranges (both X and the Y axes). |
|
Update box: If enabled, the display is continually updated to show all the acquired data. |
Integration time |
Duration during which the counts are collected. The accumulated counts are then divided by the integration time to calculate the count rate. Default is a 1 sec integration time, the minimum. The maximum Integration time is 10sec. Note that rebinning to longer intervals can be performed later in the correction tool. |
|
Button to transfer the acquired curve(s) to the PSAMPLE Correction tool. |
|
Button for clearing the data buffer. |
|
Clear box: If enabled, the data buffer is cleared when starting a new acquisition. I.e. upon the re-start of an experiment the acquisition will overwrite the existing measurements. If disabled, the acquisition will continue from the moment the experiment was stopped. |
|
The End By supports two settings: ▪User: allows stopping the acquisition any time by activating the STOP button. ▪Time: the user can define the acquisition duration, in minutes, after which the measurement is automatically stopped. ▪Counts: the user can define a threshold after which the measurement is automatically stopped. |
|
Device Info: Shows the device configuration. Hide/Show Controls: Allows the curve control elements to be shown or hidden. |
|
Start: Starts the acquisition for the configured device. Start All starts the acquisition on all configured devices at once. |
|
Launches the Acceptance Test. This tests connectivity with the twilite. |
|
Timestamp: Opens a dialog in which the user can record events during acquisition with time stamping. Events can be entered manually and written to a file using the Set button.
The events file will be saved along with counts data, with the suffix *_EVTS (format *.crv). |


If more than one device has been configured, each if them is represented by a curve/control area as described above (maximum 5).