The INPUT page is illustrated above. It serves for loading the input images which will be spatially aligned to the reference image.
Image Loading
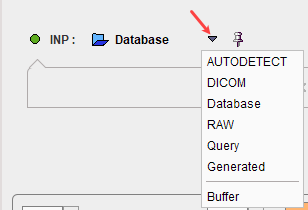
Image loading is started with the INP load button, whereby an appropriate file format can be selected using the down arrow:
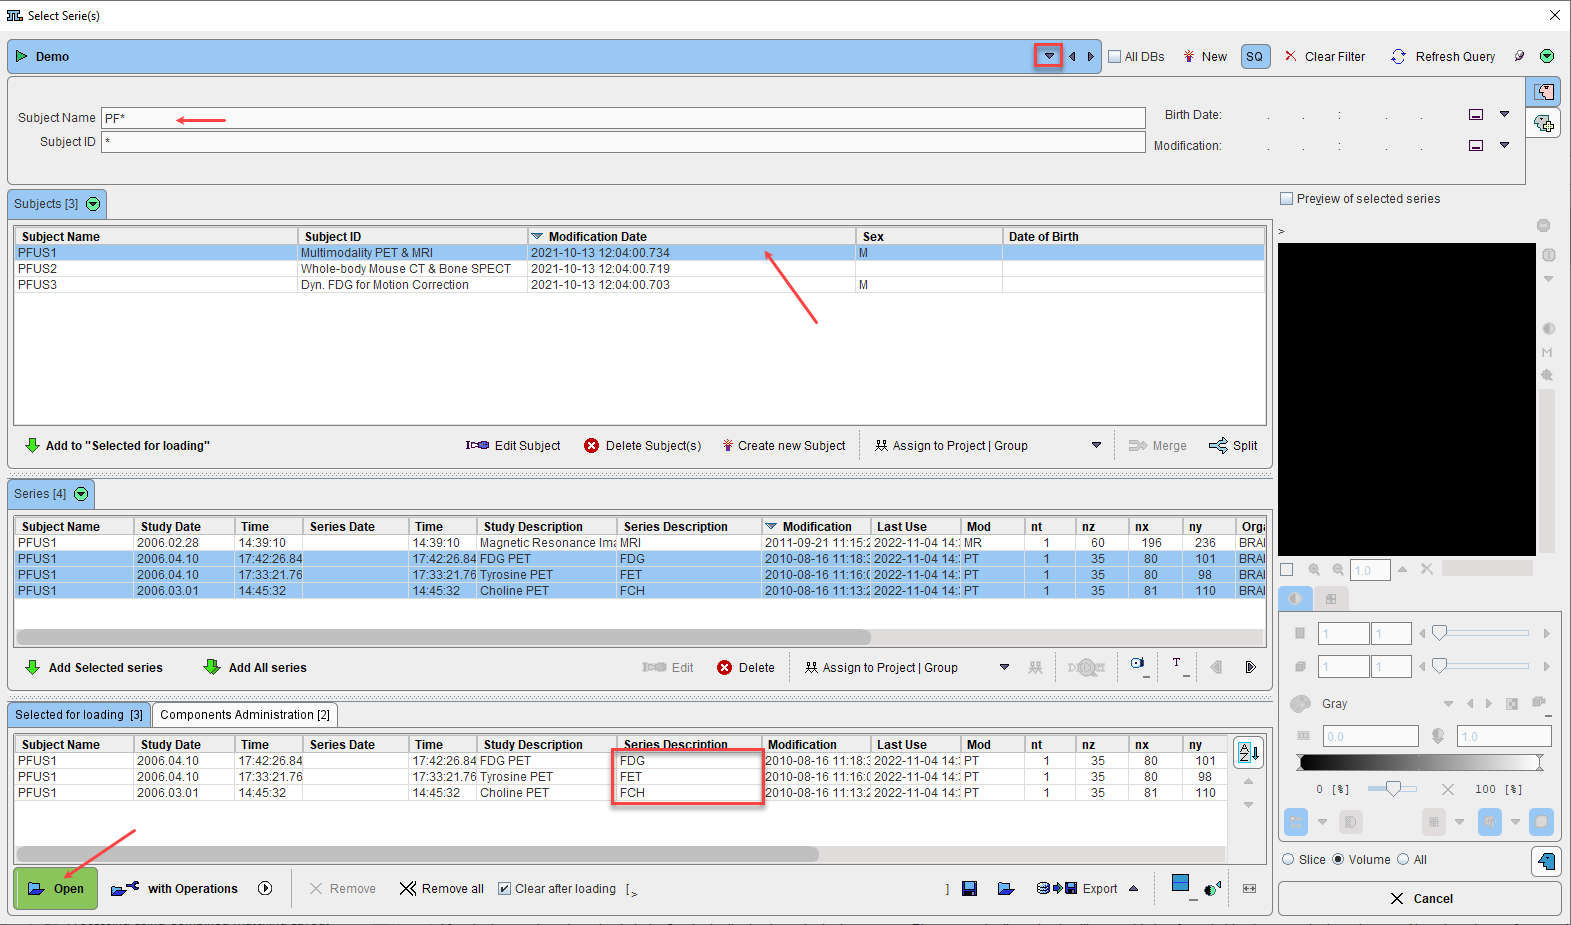
Note that several input images can be loaded at once as illustrated in the database loading example below.
After the images have been loaded, the first in the list is shown in the image area. Please use the list selection illustrated below for switching between the input images. Note the x button for removing the currently selected series.
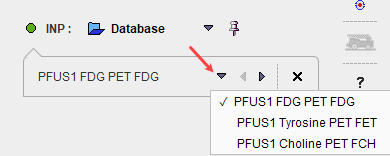
Image Cropping
Image cropping is often useful for discarding irrelevant information and saving RAM. If the cropping controls are not visible, please activate the blue expansion button.
![]()
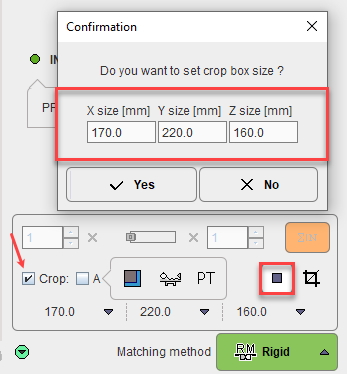
The Crop option brings up yellow rectangles in the orthogonal layout. They define the cuboid for the cropping operation.
The edge sizes can be adjusted with the arrow buttons,
![]()
and the position by clicking at the center of the volume of interest. Alternatively, the edge sizes may be entered as illustrated below.
There is an automatic cropping function available which works for brain images. It is based on the matching of brain templates to the images. To this end the species (red arrow and rectangle) and the modality (blue arrow and rectangle) have to be set properly by the configuration buttons illustrated below.
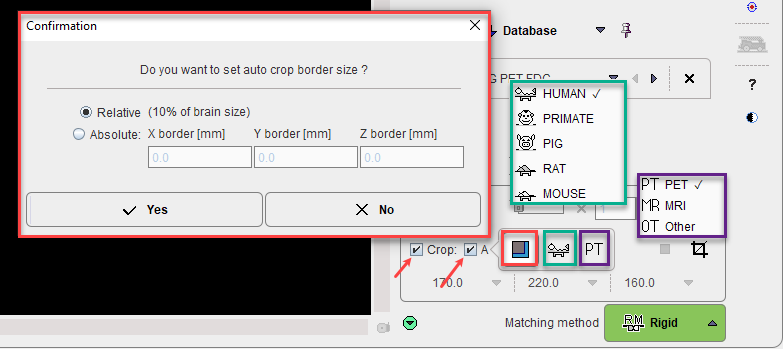
The standard auto-crop bounding box can be expanded by a fixed amount (e.g. inclusion of some non-brain areas, such as the nose, may aid coregistration if the PET include some non-specific binding). This amount can be Relative, in percentage of brain size, or defined as Absolute size border in [mm] in all direction.
As soon as the Auto option is checked, the process is started. It results in the placement of the yellow cropping box, which can be inspected by the user.
Cropping is started with the ![]() button.
button.
Averaging of Dynamic Images
If dynamic input images are loaded, a frame averaging option is applicable. In the example below a range between frames 10 and 20 is defined.
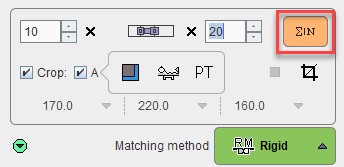
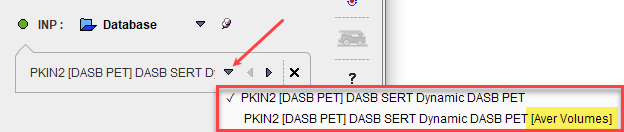
As soon as the indicated averaging button is activated, the time-weighted frame average is calculated and the result added to the list of INP images. To label the result the string [Aver Volumes] is appended to the series description.
Action Buttons
After the input images have been loaded and the species selection is appropriate, processing can be moved on by selecting the Matching method:
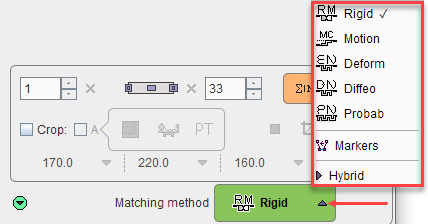
They will open the REFERENCE & MATCHING sub-page with an appropriately configured registration method.
|
Rigid matching |
|
Motion correction. This option is only available for dynamic INP images. |
|
Elastic deformation based on a single template reference (SPM5-type). |
|
Not yet available. Will support whole body elastic matching. |
|
Elastic deformation based on a tissue probability maps (SPM8-, SPM12-type), mainly applicable for T1-weighted MR images. |
|
Matching based on manually defined landmarks. |
|
Recommended choice for the hybrid data when the matching is not required. |