If the loaded images don't appear to be aligned on the REFERENCE & MATCHING page start by try using one of the initialization of registration option described previously. This should give a preliminary reasonable starting point for the procedure to follow.
In the example below the centers of the INP and REF images are aligned using the initialization indicated in the capture belo:
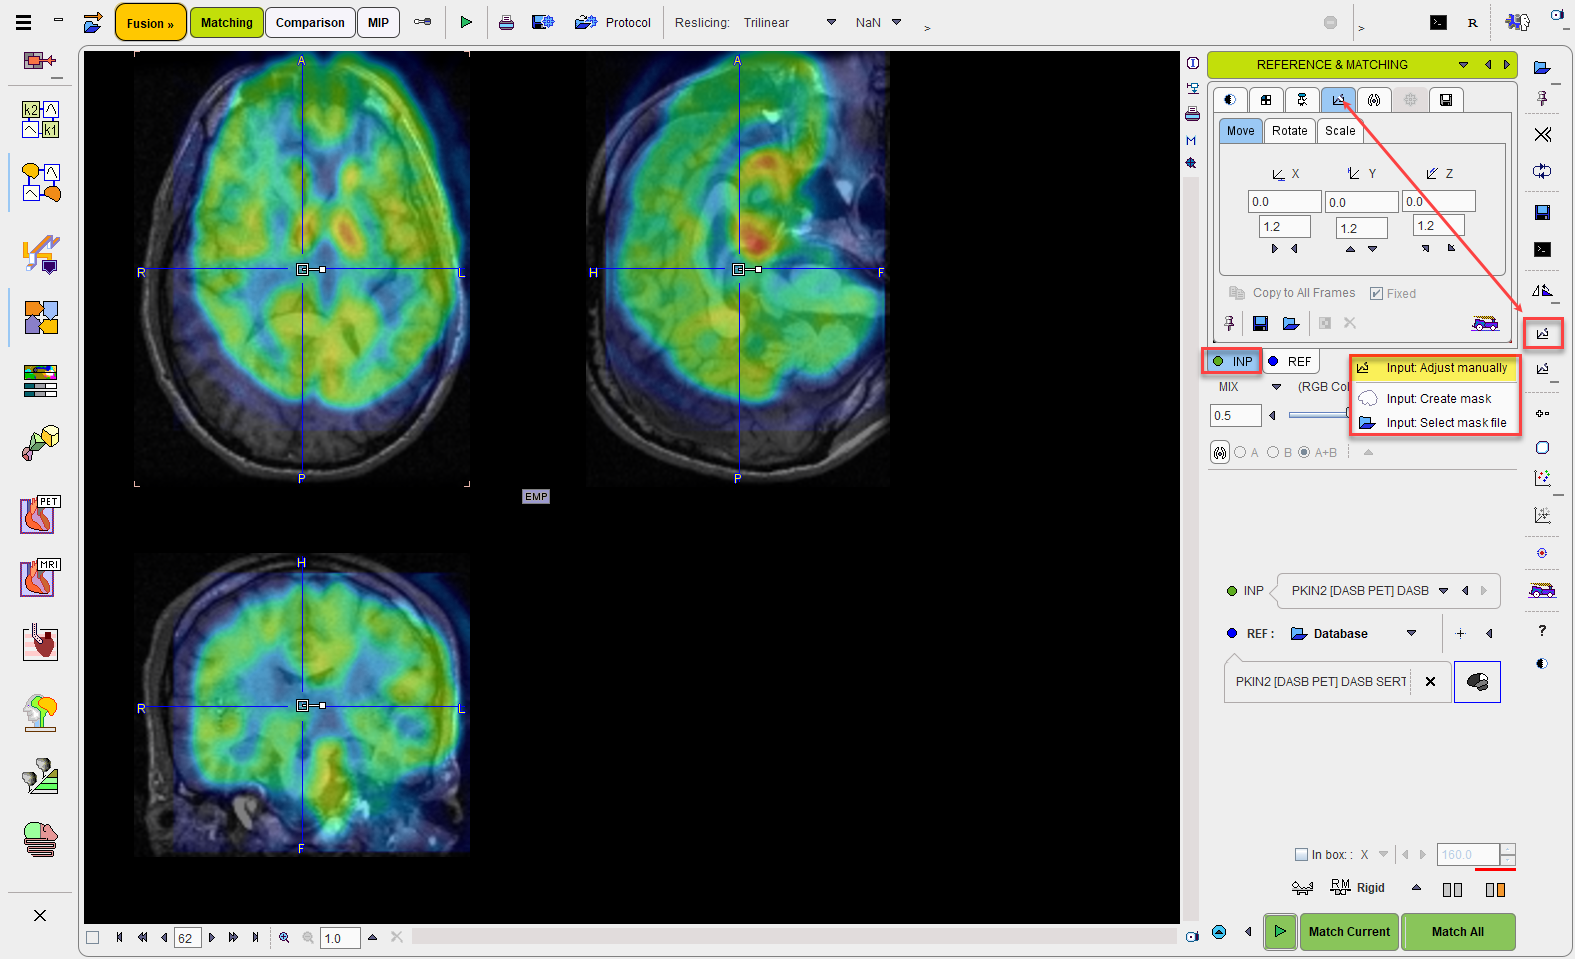
To see the parameters of the results of the initialization select the INP reslicing shortcut in the lateral taskbar:

To further refine the alignment, shift and rotate the INP image until it aligns with the REF. Shifting can be done by entering offsets in the Move panel, or dragging the open rectangle directly in the images. Rotation angles can be numerically entered in the Rotate panel, or the image interactively rotated by dragging the small filled rectangle in the image overlay. Adjust the INP image position and orientation until the anatomy in both images is aligned.
Evaluating the Alignment
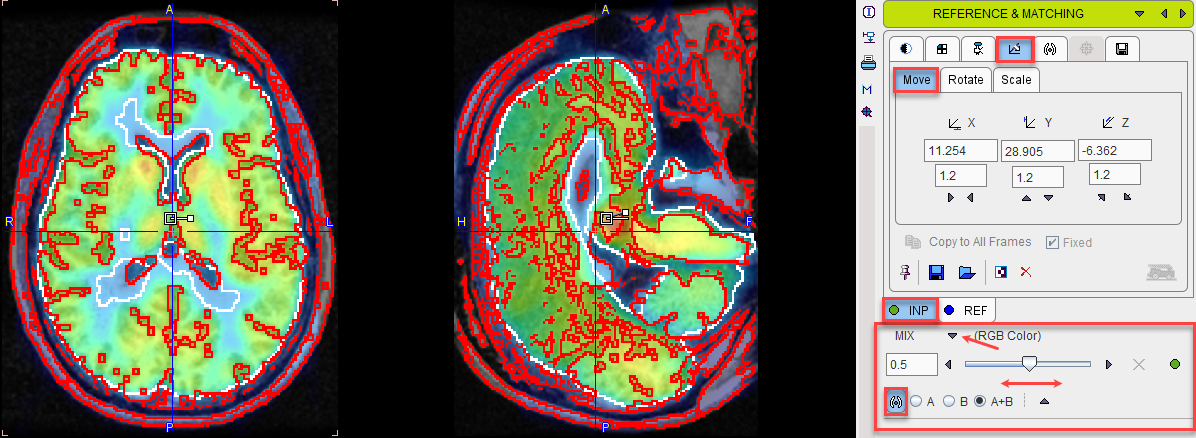
The evaluation of the alignment is a subjective and iterative process. It is recommended verifying the result in all plane orientations and using different fusion techniques such as iso-contours and overlay windows which are described in more detail separately.
Often the iso-contours are helpful because they highlight boundaries which might be common in both images.
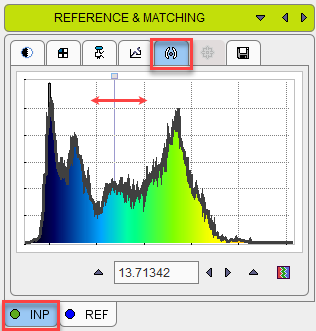
If the contouring level is not appropriated, adjustments can be made on the corresponding panels of the INP and REF.
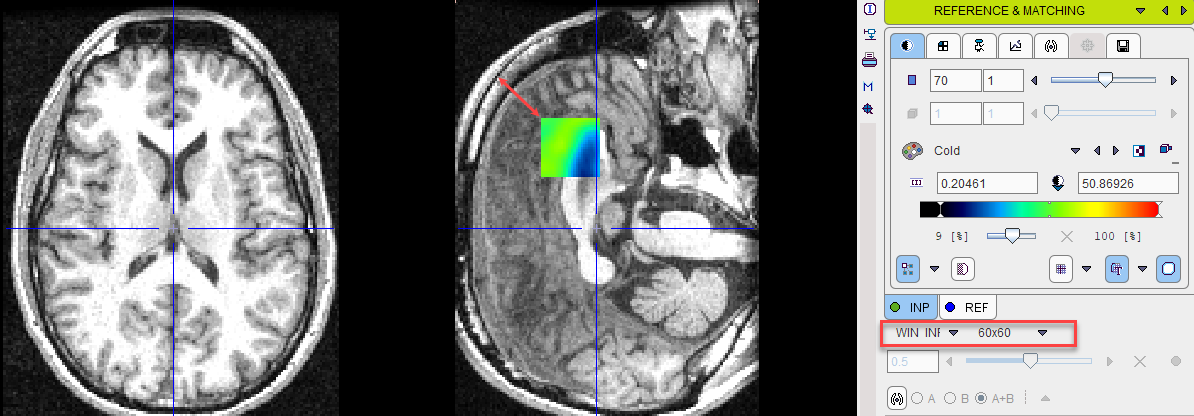
An alternative method for checking the boundaries is with the Win INP fusion method. The display only shows the REF image, but when the left mouse is clicked in the images the INP content at this location is shown in a window of configurable size.