When storing the data in DICOM (part 10) files, a dialog window appears and allows selecting the destination directory, defining the name of the created DICOM file and the DICOM Image Information Object type into which the data will be stored.
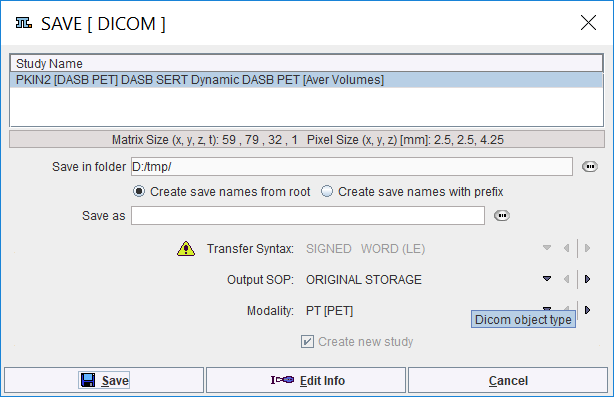
The Output SOP determines compatibility with other systems that may not support all types of objects. The list contains all DICOM IODs supported by PMOD. Initially, a suitable definition is proposed, but the user may change the list selection. For RGB image data and screen captures only Secondary Capture (SC) objects are available as an Output SOP.
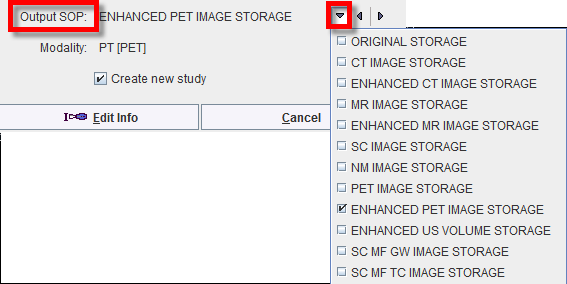
Please see our DICOM Conformance Statement for details.
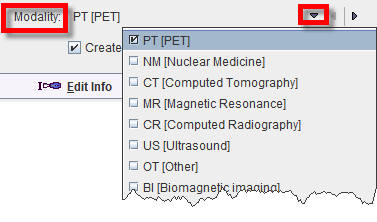
The Modality type is just a descriptive string. It can be selected from the long list of modalities that are defined in the DICOM standard:
The Create new study box is only relevant for data originally loaded in DICOM:
▪If the Create new study box is checked, PMOD generates new study UIDs when saving the DICOM objects.
▪If the Create new study box is not checked, PMOD uses the study UIDs of the original data when saving the DICOM objects. In this case please do not change subject or study level information with Edit Info. Otherwise the receiving system may create a new study anyway.
For non-DICOM data PMOD will always generate new study UIDs.
Editing DICOM Information
DICOM has the ability to save administrative information with the image data. By activating the Edit Info button some of the important attributes can manually be edited:
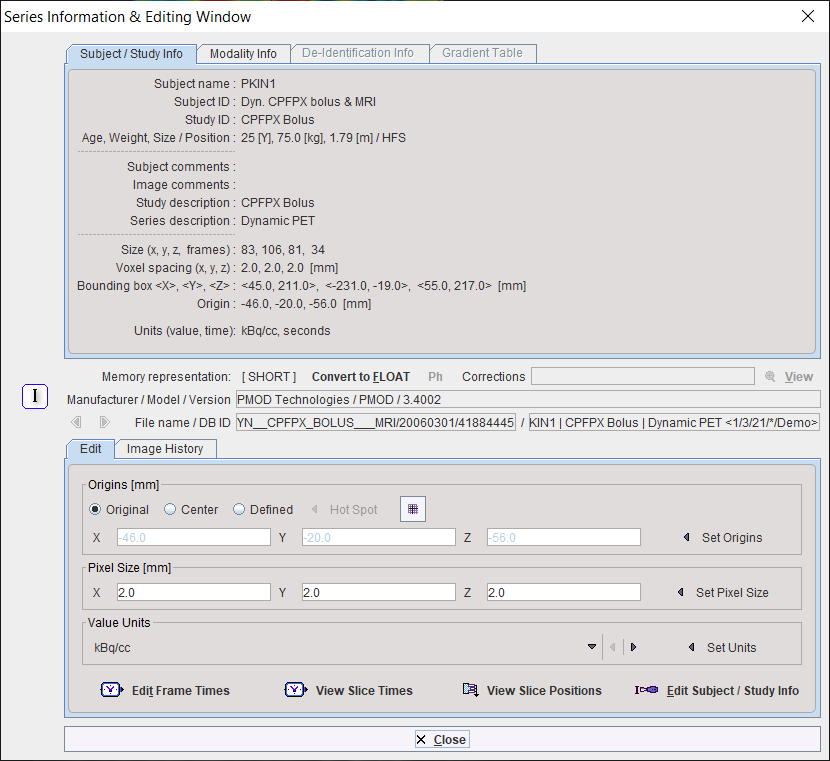
The elements on the SUV PARAMETERS pane are explained in the SUV section below. The Subject POSITION panel allows the selection of Subject type: BIPED or QUADRUPED. For each type the panel displays an array of buttons which allow defining (or correcting) the subject orientation.
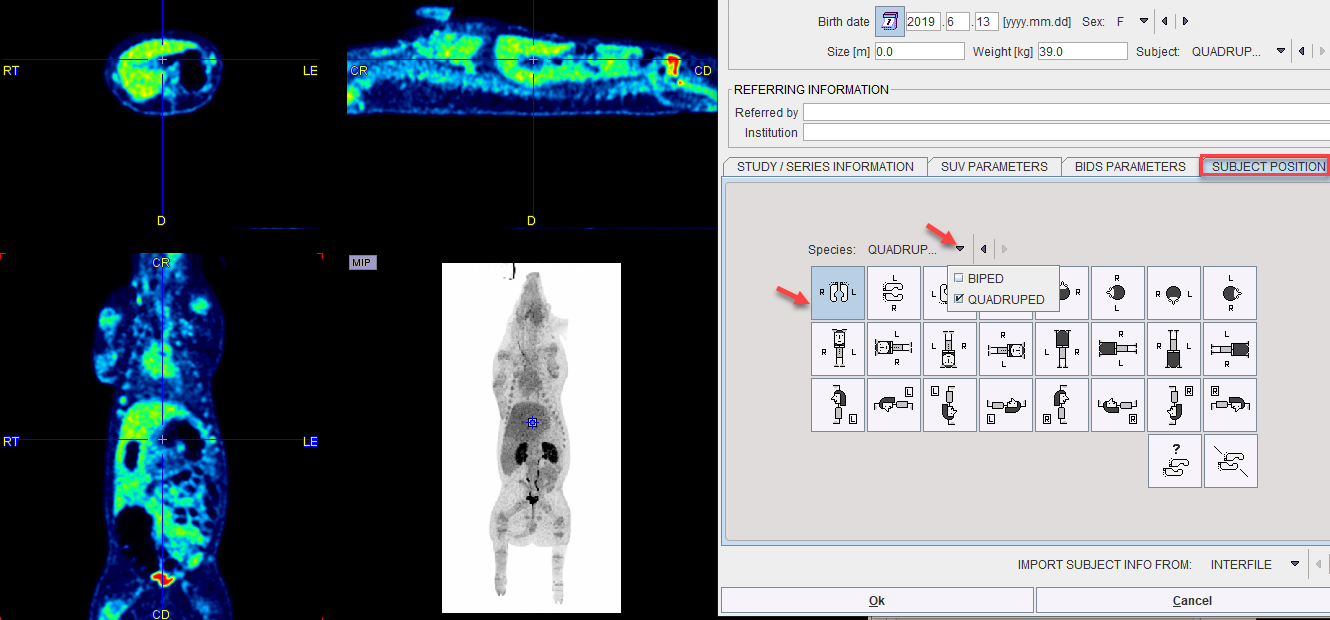
Note that after activating one of the buttons the anatomical annotations in the image overlay are adjusted. Please identify the button which generates an appropriate labeling. This information will then be saved with the data.
The buttons should only be needed for data loaded in other formats than DICOM, or if there was not enough orientation information in the loaded DICOM data. This situation is clearly indicated by the lack of anatomical annotations. If you are not sure about the anatomy, please use the UNDEFINED Subject Position button.