Marker objects might be helpful for labeling points of interest in the scene. A marker object can be created by selecting Markers in the object tree, and then on the appearing Marker tab activating the Add marker button.
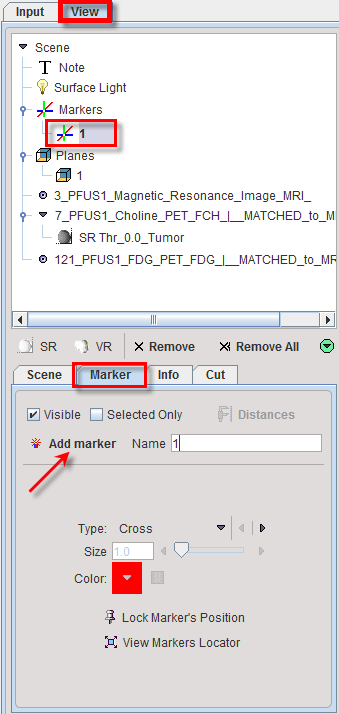
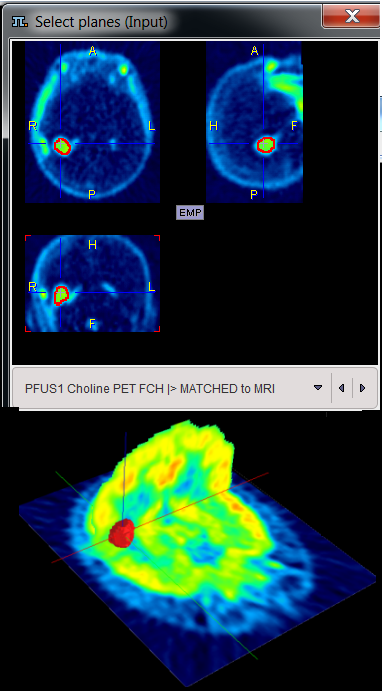
The marker is initially positioned at the plane intersection point of the Input series. Its position can be changed by changing the triangulation point there, or by opening the navigator window with ![]() and clicking to the point of interest. Once its final location has been found, activate Lock Marker's Position to prevent unintentionally moving the marker.
and clicking to the point of interest. Once its final location has been found, activate Lock Marker's Position to prevent unintentionally moving the marker.
The marker can have the shape of a Cross as illustrated above, or a Sphere. If multiple markers have been created, Selected only allows showing only the marker belonging to the object currently selected in the tree.
If at least two markers have been created the Distances button become active. It allows calculating the distances between any two landmarks and shows them in a table:

The length of the curve that passes through the markers is also calculated. The values can be Copy to Clipboard and paste into Excel.